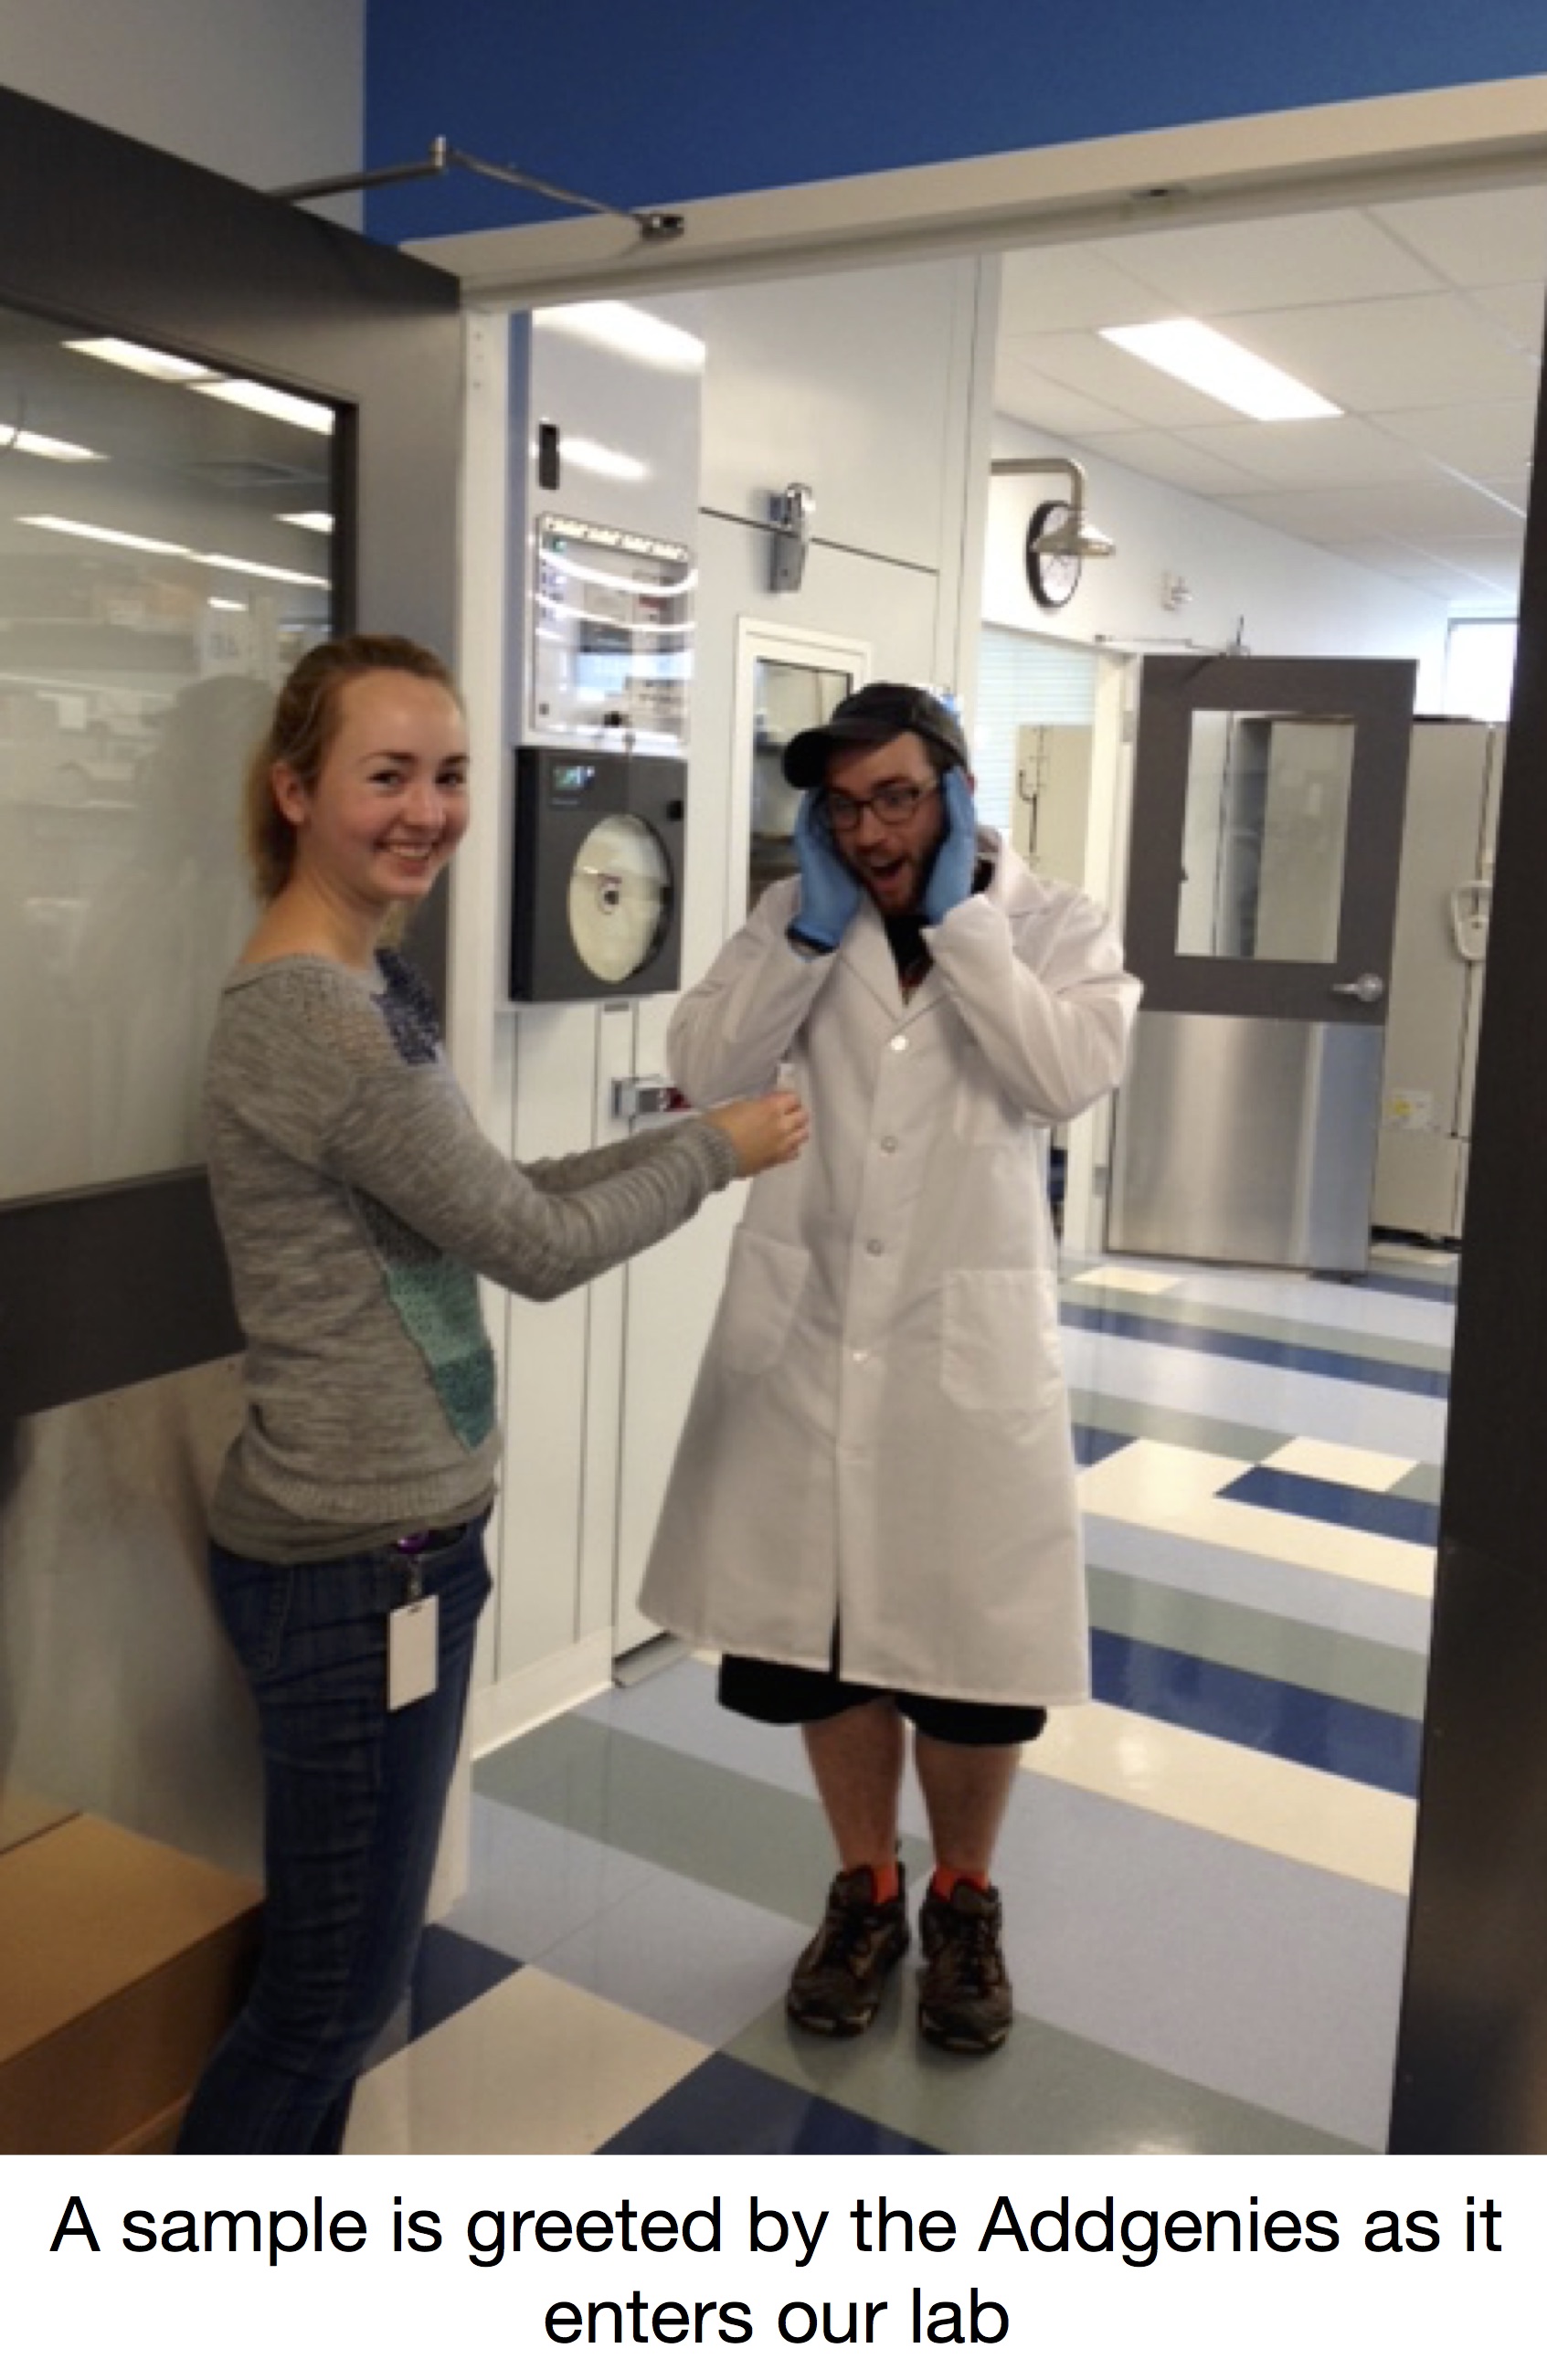
 Every plasmid sample enters Addgene the same way. A package is delivered by a mail courier and then the journey of transformation and storage begins. Some samples are submitted as bacterial colonies in petri dishes, but close to 80% of samples are received as DNA in a microcentrifuge tube. Once a sample enters Addgene’s lab, a series of events is triggered. Each step is tracked through barcoded tubes that are scanned into our Laboratory Information Management System (LIMS), a database we use to keep track of and manage all of the samples that come through our doors. It would be a nightmare if we didn’t have a simple way to track all of our 40,000 samples available for distribution!
Check Out How We Think about Developing Lab Management Software
The plasmid's journey begins
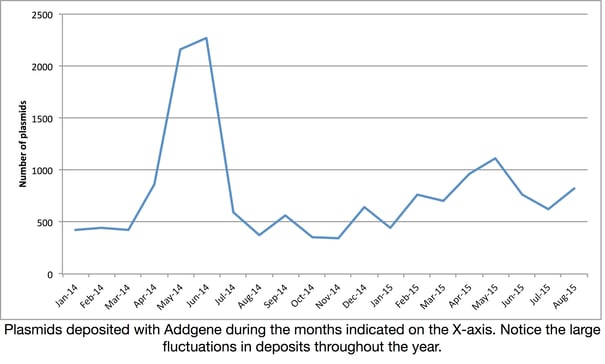
First, each package is opened and the contents are carefully inspected to verify that the samples arrived intact. Some deposits are sent from labs nearby in Boston and Cambridge. Many deposits arrive from labs around the globe. The packages have spent days to weeks in transit and some have been transported across oceans and continents. Each deposit may consist of anywhere from one to hundreds of samples, with an average of 10 plasmids per deposit. Each week an average of 16 deposits is received in the lab, although this number fluctuates throughout the year (see graph below).

Addgene scientists inspect each sample and make sure they have been barcoded with a unique ID number (1D barcode as shown below). This number ensures that every sample can be tracked easily at each step in the storage process. After the original sample is barcoded, the lab team takes over and prepares the sample for entry into Addgene’s repository. For long-term storage in our facilities, every sample is transferred to a 2D barcoded tube (see next section) and every time something is removed from this tube, the barcode on the bottom is scanned to verify that it is the correct sample.

Tracking samples - it's all about location, location, location
There are many different types of samples at Addgene - DNA sent from depositors, bacterial glycerol stocks, prepped DNA ready for our quality control processes - all of these samples have the 2D barcodes mentioned above. These barcodes identify what type of sample is contained within the tube, but more than that, they also help us keep track of the tubes’ physical location in the lab. These barcodes additionally allow us to store multiple types of tube for each plasmid we have at Addgene. Each sample at Addgene has four layers of location which can all be extrapolated from the 2D barcode and LIMS:
- Barcoded Tube
- Plate
- Freezer Rack
- Freezer
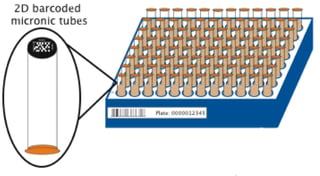
Tubes are assigned a location within a plate that can hold up to 96 tubes (see image below). Each plate has numbers and letters to give coordinates, from A1 through H12. Each plate is also barcoded with a 10 digit barcode and then assigned to a location in a metal freezer rack that contains five levels that can hold five plates on each level. This rack is located in one of five -80℃ freezers or two -20℃ freezers depending on the sample type. It is critical for us to know which plate, rack, and freezer each sample is located in. Otherwise it could take us hours just to find one sample! Luckily, if a rack of tubes is dropped at any point in the process, we know exactly which location each should go back into because every barcode on every tube contains information about that tube’s appropriate location. The barcode also identifies the contents of each individual tube. If a plate of samples is ever dropped, we can simply scan the tubes and know what is in each one. Even if we lose a tube behind a freezer or under a lab bench, we will know that a particular barcode and therefore particular sample is missing so that we can make a new tube from a replicate sample.

The transformation
After the DNA has been received and stored, it is put into E. coli strains that have been treated to easily take in plasmids (transformation). Transformed bacteria are then grown up on antibiotics such that only bacteria with the plasmid can grow. As the bacteria divide, they replicate and retain the plasmid. This allows us to make unlimited copies of each plasmid so that we never run out. There are a number of different strains of E. coli that can be used for transformation. The preferred E. coli strains for storage and distribution at Addgene are DH5α, NEB stable, ccdb survival, and Pir1. The majority of plasmids contain either an ampicillin or kanamycin resistance gene.
Every step along the way involves good aseptic technique and controls to ensure that nothing is contaminated. We use filtered pipet tips and prepare fresh media with antibiotics at each stage. The barcodes and LIMS help us track each sample, but we also have a dedicated and detail-oriented lab team that works carefully to catch mistakes. Each sample that is transformed is plated onto a petri dish plate that is also barcoded. The barcodes on both of these are scanned into our LIMS system to ensure that they match, helping us to avoid mixing up samples as we transform dozens of samples at a time.
Not everything that is received is immediately transformed and stored. Some samples need to be transformed with a micropulser using an electric charge to help the DNA enter the cells. Some samples require a reduced antibiotic concentration or need to be transformed into different cells than were originally requested. Most of our samples (98.2%) transform the first time and can be stored right away.
Every week, the lab performs an average of 140 transformations. The lab typically transforms newly deposited samples from Monday through Wednesday. Each sample that is transformed that week is then inoculated for storage on Thursday. The lab prepares bacterial glycerol stocks on Fridays. From each overnight culture, we prepare three sets of 2D barcoded tubes. Two of the tubes are used for long term storage (one is kept at Addgene and another is sent to a storage facility). The third tube is used to fulfill orders.
Breaking the (bar)code
At each step in the receiving, transforming, and storage process, we ensure that the sample tubes that we use match those of the appropriate deposit. Using barcoded tubes is part of Addgene’s secret to success. It helps us quickly process samples accurately and in a way that can be easily traced. If you’re just starting a lab, or are looking for a way to organize samples within your lab, we highly recommend using barcodes! Barcoded tubes are easily accessible and can be made in house if necessary.
Tips for barcoding and tracking samples
1. Start with the tube - Barcoded tubes come in many forms. The 2D barcode can store a lot of information in a small space and is ideal for tracking large collections. Many companies, such as Thermo Fisher and Micronic, provide 2D barcoded tubes. 1D barcodes are better for tubes that are meant to be read one at a time. 1D barcodes can be purchased from many companies such as Corning. Tubes can even have specific barcodes etched or printed onto them by companies such as Tubewriter. Any lab can benefit from using barcodes to help track samples. They will help your lab ensure that sample ID’s are unique, consistently labeled, and that numbers are not switched around or misread.
2. Track the container - It is just as important to track the location of the container housing the tubes as it is to track the tubes themselves. Although we’ve developed our own computer system for tracking samples, it can be done easily with a barcode reader and an Excel spreadsheet. Start by scanning the sample barcodes into the cells in the same order that they exist within the rack or box. Next, assign a 1D barcode to the container holding the tubes and use this ID to name the corresponding Excel sheet.
3. Be specific - When assigning a physical location to your samples, include as much detail about that location as possible. Are there multiple freezers that the samples can be stored in? Different shelves? Different racks on each shelf? Give each container a specific location to know exactly where to find your samples. Additionally, giving each sample a unique location in a specific freezer will help ensure that samples are easy to locate in freezers that may be shared with multiple people or even multiple labs. Careful tracking prevents us Addgenies from wasting hours of valuable time searching for samples and keeps us from discarding tubes in error.
The Addgene lab works diligently to help move your deposited samples along every step in the storage process - from deposited DNA to transformed cells and finally to bacterial glycerol stocks that are used to fulfill orders. The barcoded tubes help to guarantee that no samples get lost during their journey. Take the time to track your samples today and never lose a sample again!
 Amanda Hazen is the Laboratory Operations Manager at Addgene. In addition to helping with daily laboratory operations, she also works on improving laboratory efficiency through automation.
More Resource Avaliable at Addgene
Get help with plasmid transformation, preparation, and analysis from our protocols and molecular biology reference pages!
Resources Avaliable on the Addgene Blog
Read more Inside Addgene Posts!
Learn all about Plasmids in our Plasmids 101 series!
Topics: Addgene News


Leave a Comment